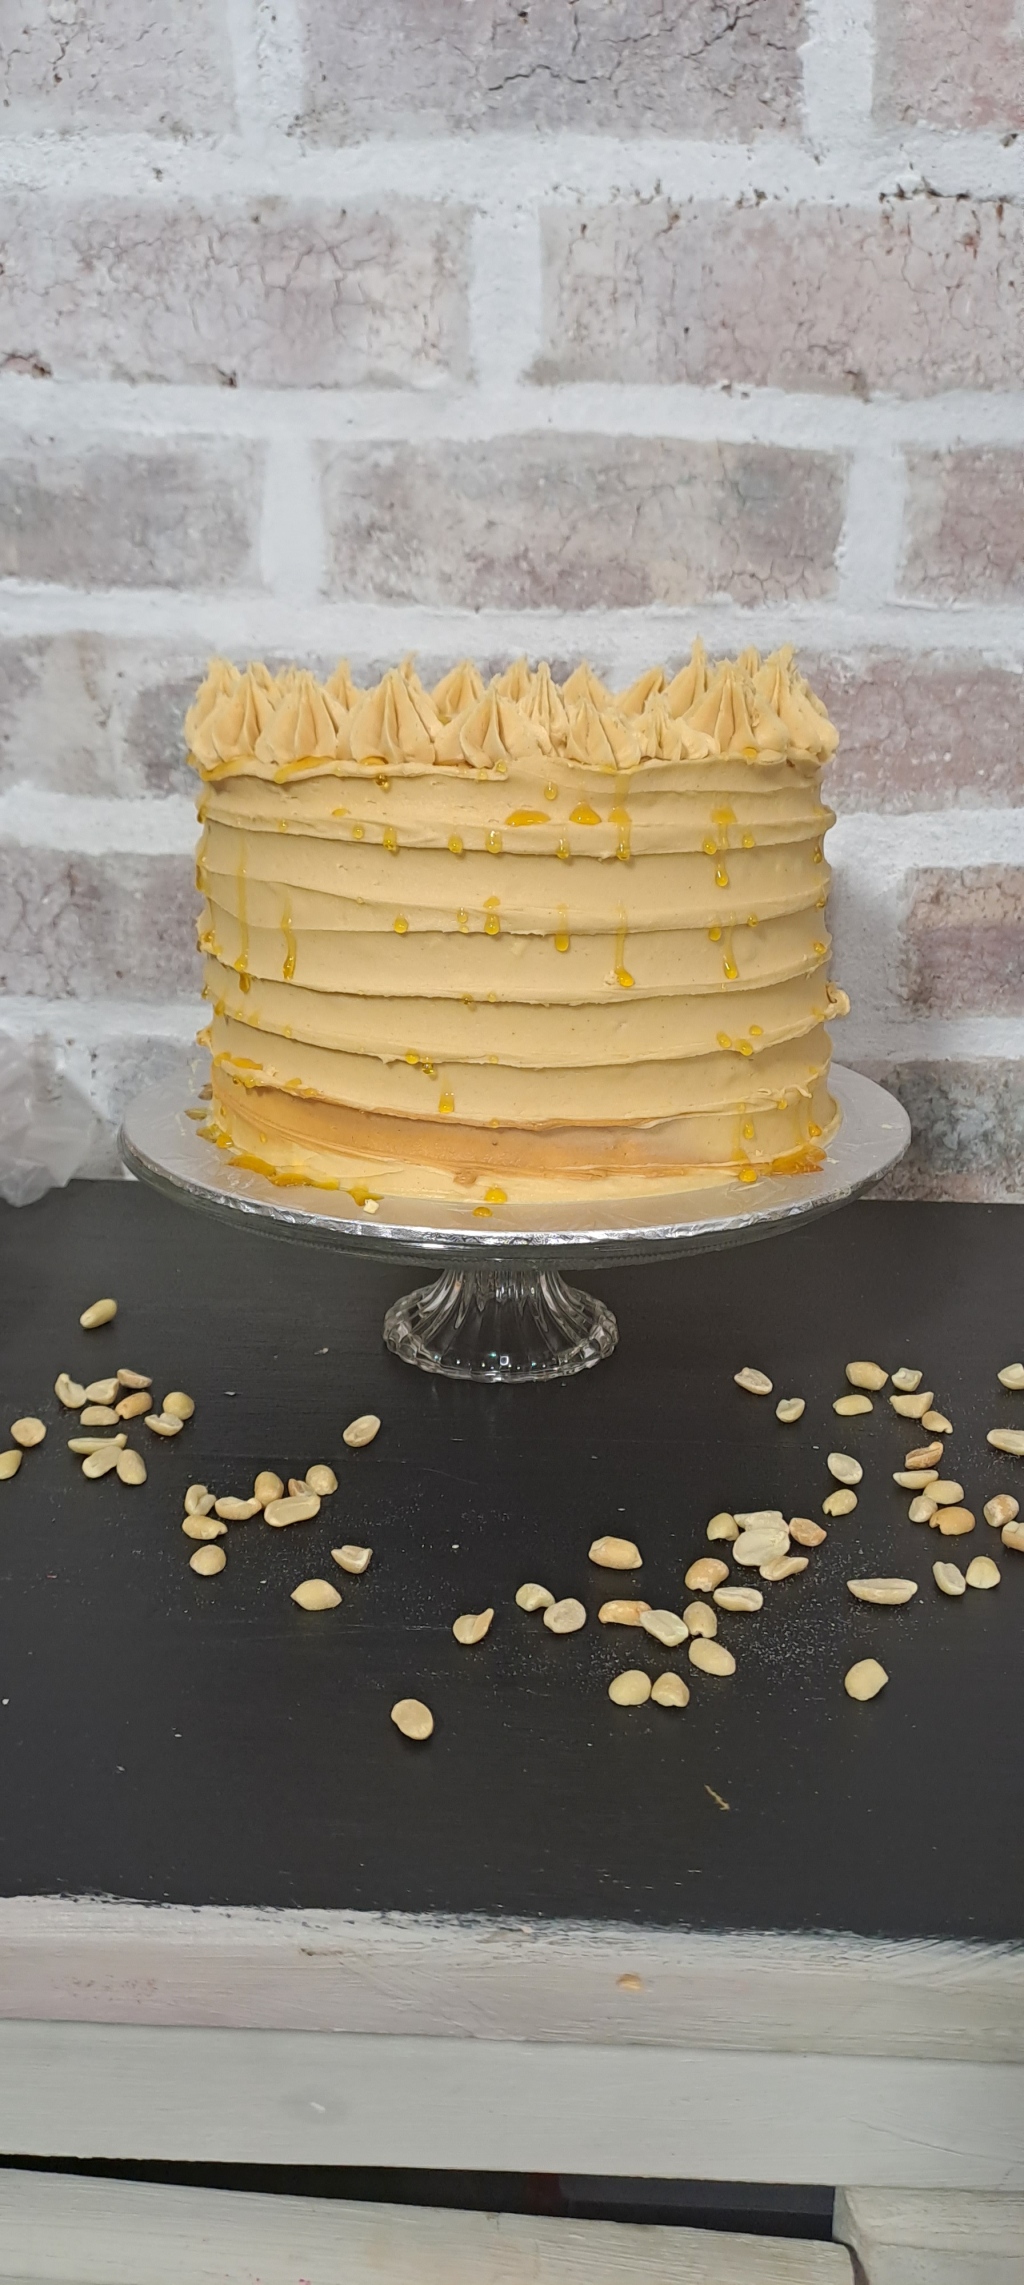

- This cake might seem a little weird but if you are a peanut butter and jelly sandwich fan you might really enjoy this cake as I just love love love a peanut butter and syrup sandwich.
- Let’s Get Right To It with all the ingredients you need and some Tips on those Ingredients

- 3 Cups of All Purpose Cake Flour {375g}
- 2 Teaspoon Baking Powder
- 6 Large Egg Whites
- 1+3/4 Cups White Sugar {380g}
- 1 Teaspoon Vanilla Paste
- 1 Cup Buttermilk {250ml}
- 1 Cup Salted Butter {250g}

{This amount will fully cover the cake, if You want to add piping make another half of this recipe buttercream amount}
Peanut Butter Frosting Buttercream
- 700g Icing Sugar
- 500g Salted Butter
- 1/4 Cup Full Cream Milk or Cream
- 1 Cup Smooth Peanut Butter
- 1 Tablespoon Vanilla
Filling :
- 1/2 cup Melted Peanut Butter
- 1/2 cup Roasted Salted Peanuts
- Caramel Syrup
Method Vanilla Cake :

- Pre-heat your oven at 175 degrees Celsius
- Start by Using a hand or stand mixer and mix the Butter and Sugar together until light in color. You might have to scrape down the sides a few times to make sure all the sugar is incorporated fully. This might take 4-8minutes or even longer.
- Slowly start to add the Egg whites to the mixture and continue to mix, till it all comes together. The mix should be smooth and almost silky now that the egg whites is all incorporated well.
- Sift together the flour and the baking powder.
- Add a quarter of the sifted flour to the butter and egg mixture and combine with a spatula or even a spoon before using the mixer.
- Now add a quarter of the buttermilk and continue the steps until all the flour and buttermilk is combine still mixed together with the spatula or spoon and not the mixed.
- Add the Vanilla Paste and only now you can use your mixer to mix everything until combined.
- Do not over mix the batter.
- Spray the tins well with a non stick spray or even add a piece of grease proof sheet paper at the bottom of the tin.
- Divide the batter into 3x 20cm tins or even 2x 15cm.
- Bake the Layers for 25min and check with a toothpick or skewer if the layers are baked through.
- After baking, leave for at least 5 minutes before tipping out on a wire rack to cool down.
- Make the Buttercream while you wait for the cake layers to completely cool down.

Method Peanut Butter Buttercream :


- Add the Butter into a bowl, either of your stand mixer, or high side mixing bowl if using a hand mixer.
- Mix the Butter until soft and lighter in color.
- Add the cup of Peanut butter to the frosting
- Add the Icing Sugar and Milk and Combine only again using your spatula or spoon, if you put the mixer on now, the whole room will be covered in icing sugar.
- Just move the spoon back and forth until you no longer see any powder of the icing sugar in the bowl.
- Add the vanilla and now mix with the mixer for at least 5 minutes until the buttercream is really light and fluffy.
Assemble the Peanut Butter Cake :

- On the plate or cake board. Place a little of the buttercream to keep the first layer from sliding while you decorate.
- On the First layer add a thick layer of buttercream about 1cm thick and smooth out.
- Now add a layer, about half of your melted peanut butter and smooth it out
- Add the roasted peanuts and drizzle over the syrup.
- Add the second layer and do the very same. I like to use a piping bag to help me keep the buttercream in place where I need it to be.
- Add your last layer and just go eye level with the cake to see if it is level.
- Now add a first thin layer of buttercream on the cake trapping in all the crumbs.
- Put the cake in the fridge for about 20min before adding another layer of buttercream to the cake.
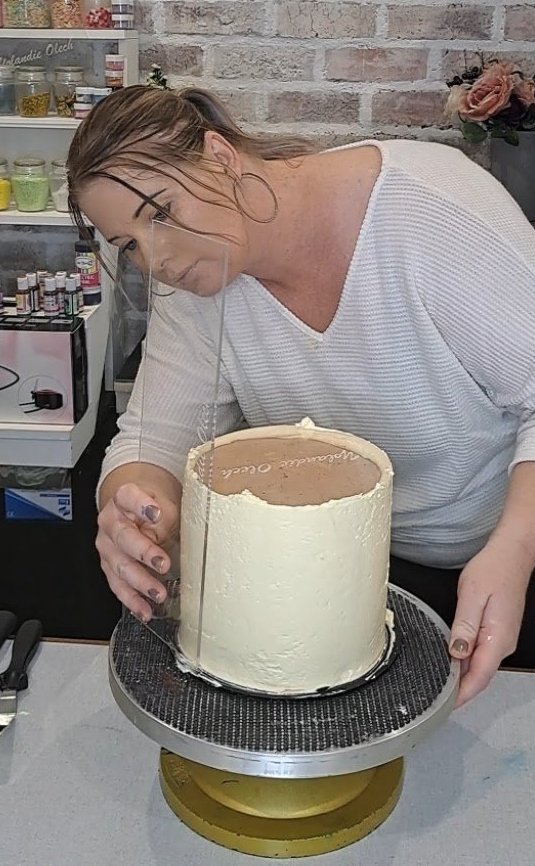
- I use a hot knife or Steel spatula to smooth out my sides of the cake and that perfect finish.
- I then used offset spatula to create those lines around my cake, you can use a spoon or knife for this method.
- Lastly I just used a star tip nozzle with some left over frosting to create some piping on top and then drizzled my cake once more worh my syrup


Sadly I didn’t make a video of this decorating because we were doing something a little different with this one. coming soon…
If you think you might need some more tips to help you continue reading, I left some below just to help out if you are not sure about anything. But also please feel free to ask me anything you need to know about this cake in the comments below and I will see how I can help.
Also If you do decide to bake this cake, please let me know how it went and tag me #yolandieolech in your post. I also have an Instagram account @yolandieolech where I share my everyday Cakes and baking and decorating journey, come follow me and tag me in your baking too.

I really recommend anyone to always have a digital kitchen scale as measuring cups can be different in many countries.
Please try and use room temperature butter in both the cake and buttercream.
Vanilla has become really expensive and please feel free to use normal store bought vanilla as you might not have the specs in the cake but the taste will be just as good.

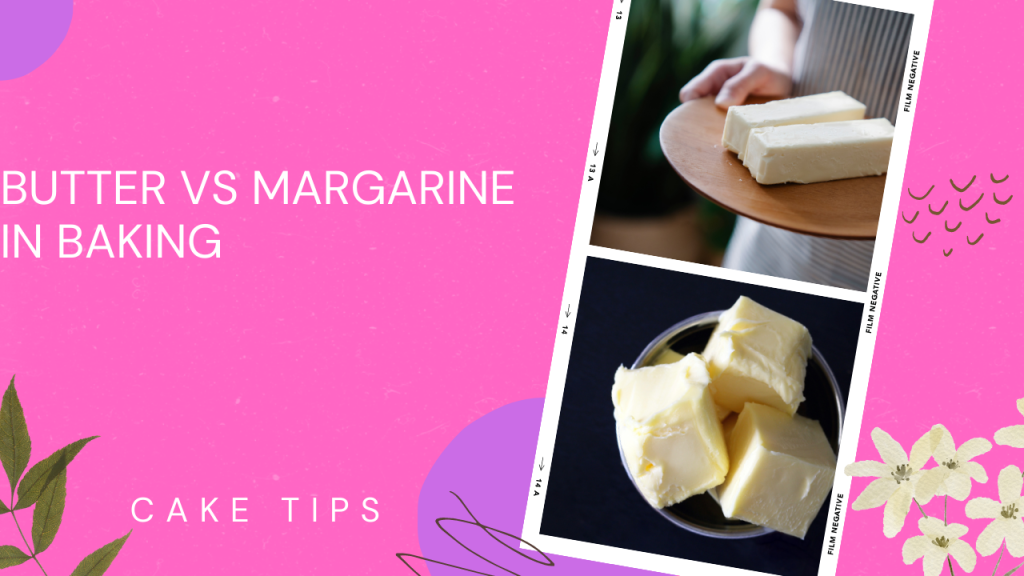
I do recommend using real butter instead of margarine, as margarine can have water in that could have an affect on the cake, but again this too has become expensive and if you can find margarine with a high fat content , you are most welcome to use it.
Make use you mix that sugar and butter very well, it helps lots with the cake’s density

Some of the products I mentioned here you might not have and want to get, so below I have a list of things you can click on and buy online for your convenience.
- Vanilla Man Vanilla Paste {South Africa}
- Cake Flour {South Africa}
- Glass Mixing Bowls {South Africa)
I hope you enjoy baking this cake and get to share it with family and friends
All my Love
Yolandie


Leave a comment